Key Takeaways:
High-quality audio is paramount for effective training videos.
Proper lighting ensures professional visuals and enhances viewer engagement.
Choosing the right camera depends on budget, expertise, and desired quality.
Invest in studio gear for consistent, high-quality e-learning content.
Strategic decisions on DIY vs. professional gear balance cost, quality, and scalability.
Creating professional-grade training videos requires more than a strong message; it depends on the tools that bring that message to life. Quality visuals and audio are no longer optional; they are critical to learner engagement and trust. According to Wyzowl’s 2023 Video Marketing Report, 96% of people have watched an explainer video to learn more about a product or service, proving that viewers value video clarity and production polish. For internal L&D teams and e-learning providers alike, investing in the right Training Video Production Equipment directly influences how effectively training content is received. From high-resolution cameras and professional lighting to reliable microphones and adaptive studio gear, the right setup helps translate complex material into accessible, visually compelling learning experiences that support retention, reduce distractions, and elevate overall training outcomes.
The Foundation: Why Equipment Matters for L&D Videos
The quality of your training videos directly impacts their effectiveness. Poor audio can lead to frustration and disengagement, while fuzzy visuals can undermine credibility. Professional-grade equipment ensures clarity, consistency, and a polished appearance that reflects well on your organization and keeps learners focused on the content, not distractions. Investing in the right tools demonstrates a commitment to quality learning experiences and supports better knowledge retention and application. This foundational investment pays dividends in long-term learning outcomes.
A thoughtful approach to selecting your Training Video Production Equipment lays the groundwork for impactful and professional L&D content.
Read more: Transforming Teams with L&D Videos: Crafting Effective Learning Experiences
1. Camera Setup for L&D Videos: Capturing the Visuals
The camera is often the first piece of equipment that comes to mind, and for good reason, it captures the visual essence of your training. However, a high-end camera alone won't guarantee professional results. The entire Camera Setup for L&D Videos needs to be considered, from the lens to the support system. For most L&D needs, the goal is clear, stable, and well-composed footage.
Here's a breakdown of common camera types and considerations:
Smartphones: Modern smartphones (e.g., iPhone 15, Samsung Galaxy S24) offer incredible video quality, especially in good lighting. They are highly accessible and convenient for quick updates or on-the-go shooting.
Mirrorless/DSLR Cameras: These offer superior image quality, interchangeable lenses (allowing for different focal lengths and depths of field), and manual controls for more creative flexibility. Models like the Sony a7C II, Canon R50, or Panasonic GH6 are popular choices.
Professional Camcorders: Designed specifically for video, camcorders offer better ergonomics for long shoots, built-in ND filters, and XLR audio inputs. They are robust but often more expensive and less versatile for photography.
Webcams: While convenient for live sessions, standalone webcams generally offer lower image quality than smartphones or dedicated cameras. Opt for models like the Logitech Brio or Razer Kiyo Pro if using a webcam.
Beyond the camera itself, a sturdy tripod is essential for stable shots, and additional lenses can provide options for wide-angle, telephoto, or macro perspectives depending on your content.
Read more: The Role of Storytelling in Learning and Development Videos
2. Lighting for Instructional Videos: Illuminating Your Message
Perhaps even more critical than the camera itself is lighting. Proper Lighting for Instructional Videos can dramatically transform amateur-looking footage into professional-grade content. Good lighting ensures subjects are well-exposed, colors are accurate, and the overall image is clear and inviting. Poor lighting, conversely, can make footage look grainy, and dull, or create harsh shadows that distract from the message.
Key lighting principles and equipment include:
Three-Point Lighting: This classic setup involves a key light (main light source), a fill light (softens shadows), and a backlight (separates the subject from the background).
LED Panel Lights: Versatile and energy-efficient, LED panels like the Aputure Amaran 100x S or Godox SL60W provide bright, adjustable illumination. They are excellent for continuous lighting setups.
Ring Lights: Often used for talking-head videos, ring lights provide even, soft illumination, flattering the subject and creating appealing catchlights in the eyes.
Softboxes and Umbrellas: These light modifiers diffuse and soften the light, preventing harsh shadows and creating a more professional look.
Reflectors: Simple and inexpensive, reflectors bounce existing light back onto the subject to fill in shadows.
Proper lighting creates depth, enhances clarity, and ensures your subject is visible and engaging, making the learning experience more pleasant.
3. Microphones for Training Videos: Clarity is King
No matter how good your visuals are, if your audio is poor, your training video will suffer. Clear, crisp audio is paramount for effective learning, as learners need to easily understand every word. Investing in quality Microphones for Training Videos is non-negotiable. Built-in camera or laptop microphones are rarely sufficient, picking up too much ambient noise and producing muffled sound.
Types of microphones ideal for training videos:
Lavalier (Lapel) Microphones: Small, discreet microphones that clip onto clothing, ideal for presenters. They capture clear audio by being close to the speaker's mouth. Wired (e.g., Rode SmartLav+) or wireless (e.g., Rode Wireless GO II) options are available.
Shotgun Microphones: Highly directional microphones that capture sound from a specific direction, great for isolating a speaker's voice while minimizing background noise. Often mounted on a boom pole or camera.
USB Microphones: Convenient for desk-based recordings or voiceovers, these plug directly into a computer. Popular models include the Blue Yeti or Rode NT-USB Mini.
Headset Microphones: While not always aesthetically pleasing, these provide excellent, consistent audio quality by keeping the microphone at a fixed distance from the mouth.
Beyond the microphone, consider soundproofing your recording space as much as possible to minimize echoes and external distractions.
Read more: A Beginner's Guide to Microlearning: Tips for Bite-Sized Training Videos
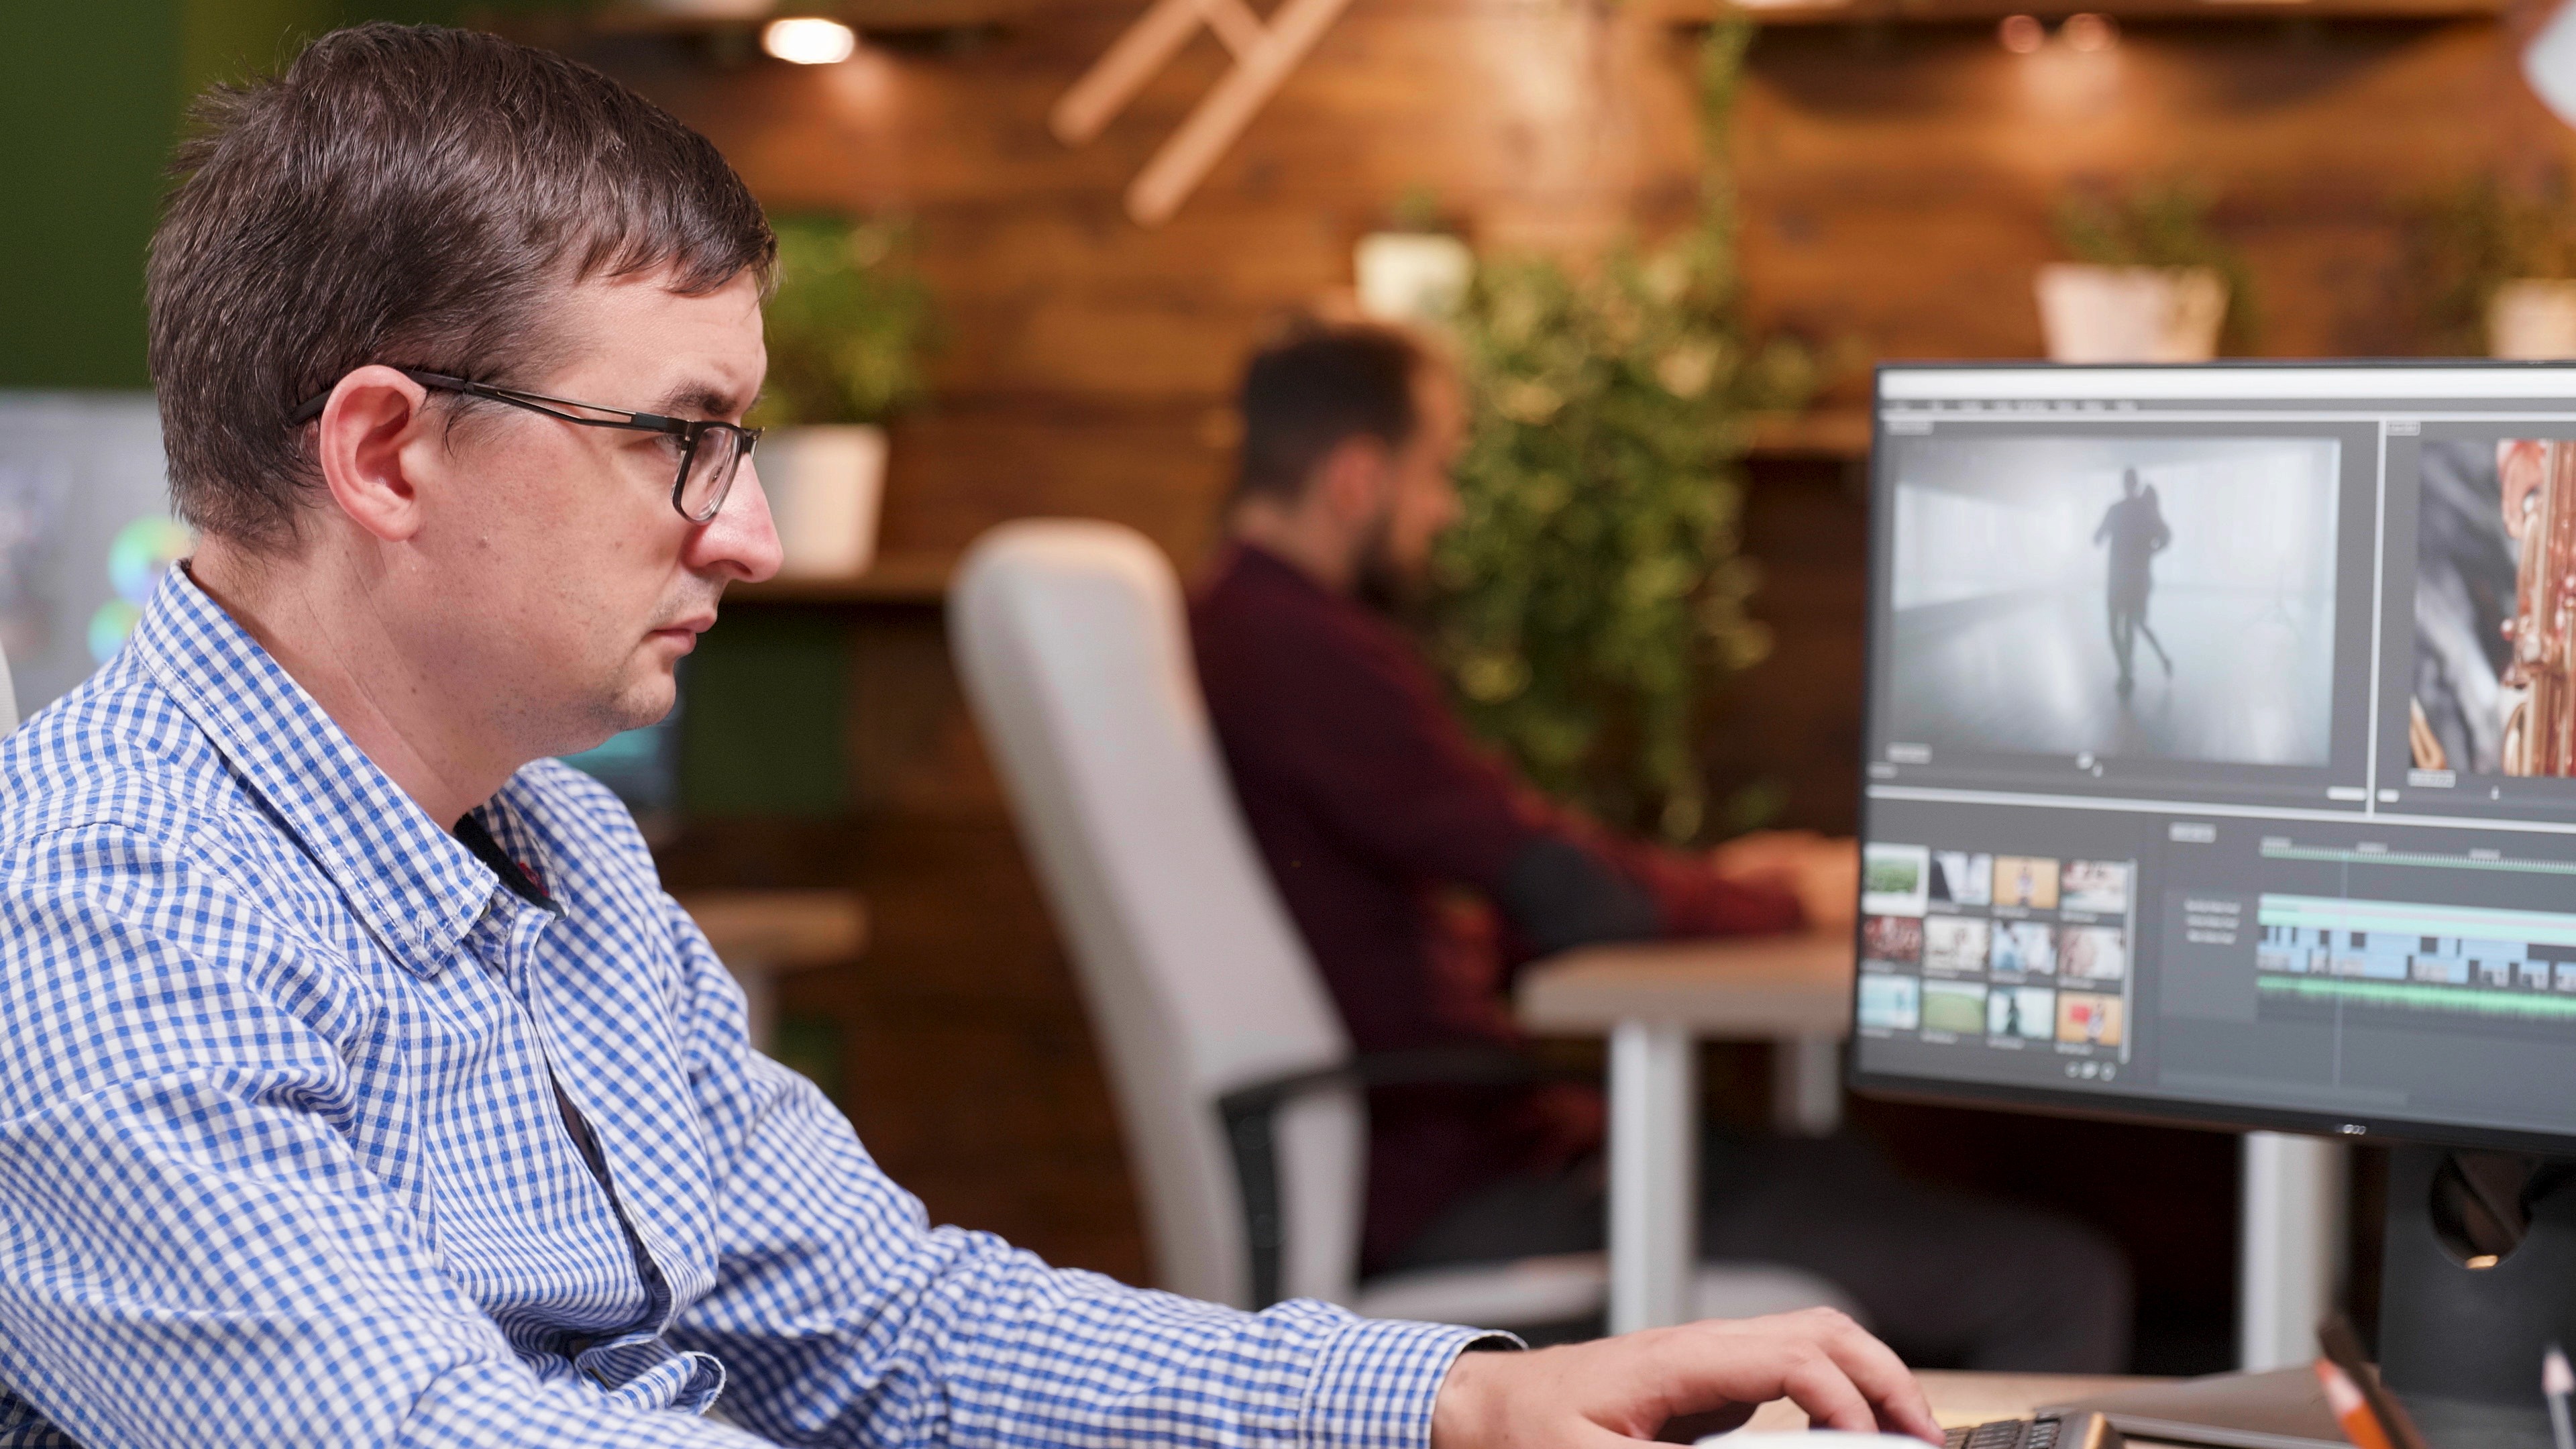
4. Studio Gear for E-Learning: Building a Dedicated Space
For organizations committed to producing a consistent volume of high-quality training videos, establishing a dedicated studio space and investing in specific Studio Gear for E-Learning is a strategic move. A dedicated studio eliminates variables like inconsistent lighting or background noise, allowing for streamlined and repeatable production quality.
Key studio components include:
Backdrops: Professional backdrops (paper, fabric, or chroma key green screens for virtual backgrounds) create a clean and consistent visual environment.
Teleprompter: Essential for presenters who need to deliver scripts smoothly and maintain eye contact with the camera, enhancing professionalism and reducing takes.
Audio Interface/Mixer: For more complex audio setups involving multiple microphones or instruments, an audio interface or mixer provides better control and sound quality.
Monitors: High-quality monitors for reviewing footage during shoots and for precise editing in post-production.
Storage: Ample and fast external hard drives are crucial for storing large video files.
Video Editing Software: Industry-standard software like Adobe Premiere Pro, DaVinci Resolve, or Final Cut Pro for professional editing, color correction, and audio mastering.
A well-equipped studio ensures that your L&D videos maintain a consistent, polished look and feel, reinforcing your brand's commitment to excellence.
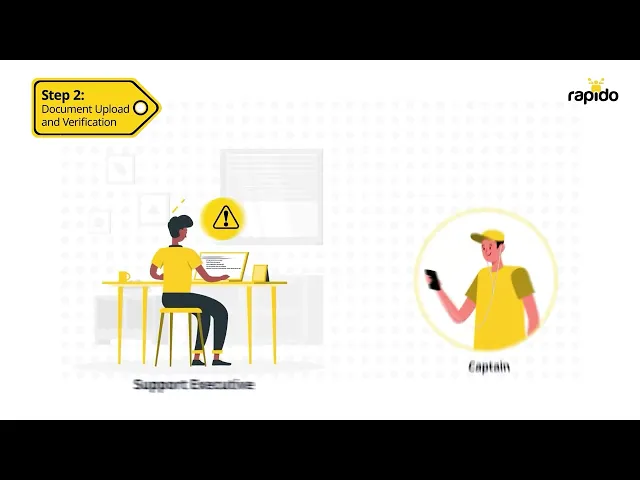
See how HSF helped Rapido deliver high-quality, engaging training content using expert-level video production tools and studio setup:
5. DIY vs Professional Gear: Making the Right Investment
The decision between DIY vs Professional Gear is a critical one, balancing budget constraints, desired quality, and long-term scalability. While starting with basic DIY solutions might be tempting, understanding the limitations and when to upgrade to professional equipment is vital for sustained success in L&D video production.
DIY (Do-It-Yourself) Approach:
Pros: Low initial cost, immediate accessibility, good for testing concepts or very specific, ad-hoc needs.
Cons: Limited quality, inconsistent results, potential for technical frustrations, may not scale.
Suitable for: Small teams, quick internal updates, proof-of-concept videos, limited budgets.
Professional Gear Approach:
Pros: Superior quality, consistency, advanced features, scalability for larger projects, faster workflows.
Cons: Higher initial investment, requires more technical knowledge to operate, can be overkill for very simple needs.
Suitable for: Medium to large organizations, high-volume production, external-facing content, complex training modules, brand consistency.
For many organizations, a hybrid approach makes the most sense: starting with good quality consumer-grade equipment (e.g., a good mirrorless camera, a quality lavalier mic, and an LED light kit) and gradually upgrading or investing in more specialized gear as needs and budget evolve. The key is to always prioritize clear audio and adequate lighting, as these have the biggest impact on perceived professionalism.
Feature | DIY Gear | Professional Gear |
Initial Cost | Low (e.g., smartphone, desk lamp) | High (e.g., professional camera, studio lights) |
Quality Potential | Basic to Moderate | High to Excellent |
Ease of Use | Often simpler (point-and-shoot) | Requires more technical knowledge and setup |
Consistency | Variable, depends on setup and environment | High, repeatable results |
Scalability | Limited for larger projects | High, handles complex needs |
Typical Use Cases | Quick internal updates, small projects | High-volume production, external-facing content |
House Sparrow Films: Equipping Your Training Content for Success
At House Sparrow Films, we understand that even the most compelling content requires excellent presentation. Our expertise in video production includes advising on and utilizing the best tools and systems to achieve your learning and development goals. We guide you on selecting the ideal cameras for your educational videos, perfecting illumination, and ensuring crystal-clear audio with appropriate microphones. Our team possesses the technical knowledge for setting up a professional recording environments and helps you decide between in-house resources versus professional services, ensuring your training videos are not just informative, but visually and audibly compelling, leaving a lasting impact on your learners.
Conclusion
Producing professional-grade training videos requires a strategic investment in the right equipment. From selecting the appropriate camera to mastering lighting and ensuring crystal-clear audio, each component plays a vital role in the overall quality and effectiveness of your L&D content. By prioritizing clarity, consistency, and a polished presentation, organizations can elevate their training programs and foster a more knowledgeable and skilled workforce. Ready to equip your L&D team for professional-grade video production? Connect with us today to discuss your Training Video Production Equipment needs and how we can help you achieve exceptional results.
Frequently Asked Questions
What is the most important piece of equipment for training videos?
Clear audio is arguably the most crucial; a good microphone significantly impacts perceived professionalism.
Can I use my smartphone for professional training videos?
Modern smartphones can produce good quality, especially with proper lighting and external microphones.
How much does a basic professional video setup cost?
A good entry-level professional setup can range from $1,000 to $3,000, depending on specific choices.
Do I need a green screen for training videos?
Not always, but a green screen allows for flexible virtual backgrounds and overlays, enhancing production value.
Should I buy all equipment at once or gradually?
A gradual approach is often best, starting with essentials like a good mic and lighting, then upgrading as needs evolve.
Key Takeaways:
High-quality audio is paramount for effective training videos.
Proper lighting ensures professional visuals and enhances viewer engagement.
Choosing the right camera depends on budget, expertise, and desired quality.
Invest in studio gear for consistent, high-quality e-learning content.
Strategic decisions on DIY vs. professional gear balance cost, quality, and scalability.
Creating professional-grade training videos requires more than a strong message; it depends on the tools that bring that message to life. Quality visuals and audio are no longer optional; they are critical to learner engagement and trust. According to Wyzowl’s 2023 Video Marketing Report, 96% of people have watched an explainer video to learn more about a product or service, proving that viewers value video clarity and production polish. For internal L&D teams and e-learning providers alike, investing in the right Training Video Production Equipment directly influences how effectively training content is received. From high-resolution cameras and professional lighting to reliable microphones and adaptive studio gear, the right setup helps translate complex material into accessible, visually compelling learning experiences that support retention, reduce distractions, and elevate overall training outcomes.
The Foundation: Why Equipment Matters for L&D Videos
The quality of your training videos directly impacts their effectiveness. Poor audio can lead to frustration and disengagement, while fuzzy visuals can undermine credibility. Professional-grade equipment ensures clarity, consistency, and a polished appearance that reflects well on your organization and keeps learners focused on the content, not distractions. Investing in the right tools demonstrates a commitment to quality learning experiences and supports better knowledge retention and application. This foundational investment pays dividends in long-term learning outcomes.
A thoughtful approach to selecting your Training Video Production Equipment lays the groundwork for impactful and professional L&D content.
Read more: Transforming Teams with L&D Videos: Crafting Effective Learning Experiences
1. Camera Setup for L&D Videos: Capturing the Visuals
The camera is often the first piece of equipment that comes to mind, and for good reason, it captures the visual essence of your training. However, a high-end camera alone won't guarantee professional results. The entire Camera Setup for L&D Videos needs to be considered, from the lens to the support system. For most L&D needs, the goal is clear, stable, and well-composed footage.
Here's a breakdown of common camera types and considerations:
Smartphones: Modern smartphones (e.g., iPhone 15, Samsung Galaxy S24) offer incredible video quality, especially in good lighting. They are highly accessible and convenient for quick updates or on-the-go shooting.
Mirrorless/DSLR Cameras: These offer superior image quality, interchangeable lenses (allowing for different focal lengths and depths of field), and manual controls for more creative flexibility. Models like the Sony a7C II, Canon R50, or Panasonic GH6 are popular choices.
Professional Camcorders: Designed specifically for video, camcorders offer better ergonomics for long shoots, built-in ND filters, and XLR audio inputs. They are robust but often more expensive and less versatile for photography.
Webcams: While convenient for live sessions, standalone webcams generally offer lower image quality than smartphones or dedicated cameras. Opt for models like the Logitech Brio or Razer Kiyo Pro if using a webcam.
Beyond the camera itself, a sturdy tripod is essential for stable shots, and additional lenses can provide options for wide-angle, telephoto, or macro perspectives depending on your content.
Read more: The Role of Storytelling in Learning and Development Videos
2. Lighting for Instructional Videos: Illuminating Your Message
Perhaps even more critical than the camera itself is lighting. Proper Lighting for Instructional Videos can dramatically transform amateur-looking footage into professional-grade content. Good lighting ensures subjects are well-exposed, colors are accurate, and the overall image is clear and inviting. Poor lighting, conversely, can make footage look grainy, and dull, or create harsh shadows that distract from the message.
Key lighting principles and equipment include:
Three-Point Lighting: This classic setup involves a key light (main light source), a fill light (softens shadows), and a backlight (separates the subject from the background).
LED Panel Lights: Versatile and energy-efficient, LED panels like the Aputure Amaran 100x S or Godox SL60W provide bright, adjustable illumination. They are excellent for continuous lighting setups.
Ring Lights: Often used for talking-head videos, ring lights provide even, soft illumination, flattering the subject and creating appealing catchlights in the eyes.
Softboxes and Umbrellas: These light modifiers diffuse and soften the light, preventing harsh shadows and creating a more professional look.
Reflectors: Simple and inexpensive, reflectors bounce existing light back onto the subject to fill in shadows.
Proper lighting creates depth, enhances clarity, and ensures your subject is visible and engaging, making the learning experience more pleasant.
3. Microphones for Training Videos: Clarity is King
No matter how good your visuals are, if your audio is poor, your training video will suffer. Clear, crisp audio is paramount for effective learning, as learners need to easily understand every word. Investing in quality Microphones for Training Videos is non-negotiable. Built-in camera or laptop microphones are rarely sufficient, picking up too much ambient noise and producing muffled sound.
Types of microphones ideal for training videos:
Lavalier (Lapel) Microphones: Small, discreet microphones that clip onto clothing, ideal for presenters. They capture clear audio by being close to the speaker's mouth. Wired (e.g., Rode SmartLav+) or wireless (e.g., Rode Wireless GO II) options are available.
Shotgun Microphones: Highly directional microphones that capture sound from a specific direction, great for isolating a speaker's voice while minimizing background noise. Often mounted on a boom pole or camera.
USB Microphones: Convenient for desk-based recordings or voiceovers, these plug directly into a computer. Popular models include the Blue Yeti or Rode NT-USB Mini.
Headset Microphones: While not always aesthetically pleasing, these provide excellent, consistent audio quality by keeping the microphone at a fixed distance from the mouth.
Beyond the microphone, consider soundproofing your recording space as much as possible to minimize echoes and external distractions.
Read more: A Beginner's Guide to Microlearning: Tips for Bite-Sized Training Videos
4. Studio Gear for E-Learning: Building a Dedicated Space
For organizations committed to producing a consistent volume of high-quality training videos, establishing a dedicated studio space and investing in specific Studio Gear for E-Learning is a strategic move. A dedicated studio eliminates variables like inconsistent lighting or background noise, allowing for streamlined and repeatable production quality.
Key studio components include:
Backdrops: Professional backdrops (paper, fabric, or chroma key green screens for virtual backgrounds) create a clean and consistent visual environment.
Teleprompter: Essential for presenters who need to deliver scripts smoothly and maintain eye contact with the camera, enhancing professionalism and reducing takes.
Audio Interface/Mixer: For more complex audio setups involving multiple microphones or instruments, an audio interface or mixer provides better control and sound quality.
Monitors: High-quality monitors for reviewing footage during shoots and for precise editing in post-production.
Storage: Ample and fast external hard drives are crucial for storing large video files.
Video Editing Software: Industry-standard software like Adobe Premiere Pro, DaVinci Resolve, or Final Cut Pro for professional editing, color correction, and audio mastering.
A well-equipped studio ensures that your L&D videos maintain a consistent, polished look and feel, reinforcing your brand's commitment to excellence.
See how HSF helped Rapido deliver high-quality, engaging training content using expert-level video production tools and studio setup:
5. DIY vs Professional Gear: Making the Right Investment
The decision between DIY vs Professional Gear is a critical one, balancing budget constraints, desired quality, and long-term scalability. While starting with basic DIY solutions might be tempting, understanding the limitations and when to upgrade to professional equipment is vital for sustained success in L&D video production.
DIY (Do-It-Yourself) Approach:
Pros: Low initial cost, immediate accessibility, good for testing concepts or very specific, ad-hoc needs.
Cons: Limited quality, inconsistent results, potential for technical frustrations, may not scale.
Suitable for: Small teams, quick internal updates, proof-of-concept videos, limited budgets.
Professional Gear Approach:
Pros: Superior quality, consistency, advanced features, scalability for larger projects, faster workflows.
Cons: Higher initial investment, requires more technical knowledge to operate, can be overkill for very simple needs.
Suitable for: Medium to large organizations, high-volume production, external-facing content, complex training modules, brand consistency.
For many organizations, a hybrid approach makes the most sense: starting with good quality consumer-grade equipment (e.g., a good mirrorless camera, a quality lavalier mic, and an LED light kit) and gradually upgrading or investing in more specialized gear as needs and budget evolve. The key is to always prioritize clear audio and adequate lighting, as these have the biggest impact on perceived professionalism.
Feature | DIY Gear | Professional Gear |
Initial Cost | Low (e.g., smartphone, desk lamp) | High (e.g., professional camera, studio lights) |
Quality Potential | Basic to Moderate | High to Excellent |
Ease of Use | Often simpler (point-and-shoot) | Requires more technical knowledge and setup |
Consistency | Variable, depends on setup and environment | High, repeatable results |
Scalability | Limited for larger projects | High, handles complex needs |
Typical Use Cases | Quick internal updates, small projects | High-volume production, external-facing content |
House Sparrow Films: Equipping Your Training Content for Success
At House Sparrow Films, we understand that even the most compelling content requires excellent presentation. Our expertise in video production includes advising on and utilizing the best tools and systems to achieve your learning and development goals. We guide you on selecting the ideal cameras for your educational videos, perfecting illumination, and ensuring crystal-clear audio with appropriate microphones. Our team possesses the technical knowledge for setting up a professional recording environments and helps you decide between in-house resources versus professional services, ensuring your training videos are not just informative, but visually and audibly compelling, leaving a lasting impact on your learners.
Conclusion
Producing professional-grade training videos requires a strategic investment in the right equipment. From selecting the appropriate camera to mastering lighting and ensuring crystal-clear audio, each component plays a vital role in the overall quality and effectiveness of your L&D content. By prioritizing clarity, consistency, and a polished presentation, organizations can elevate their training programs and foster a more knowledgeable and skilled workforce. Ready to equip your L&D team for professional-grade video production? Connect with us today to discuss your Training Video Production Equipment needs and how we can help you achieve exceptional results.
Frequently Asked Questions
What is the most important piece of equipment for training videos?
Clear audio is arguably the most crucial; a good microphone significantly impacts perceived professionalism.
Can I use my smartphone for professional training videos?
Modern smartphones can produce good quality, especially with proper lighting and external microphones.
How much does a basic professional video setup cost?
A good entry-level professional setup can range from $1,000 to $3,000, depending on specific choices.
Do I need a green screen for training videos?
Not always, but a green screen allows for flexible virtual backgrounds and overlays, enhancing production value.
Should I buy all equipment at once or gradually?
A gradual approach is often best, starting with essentials like a good mic and lighting, then upgrading as needs evolve.